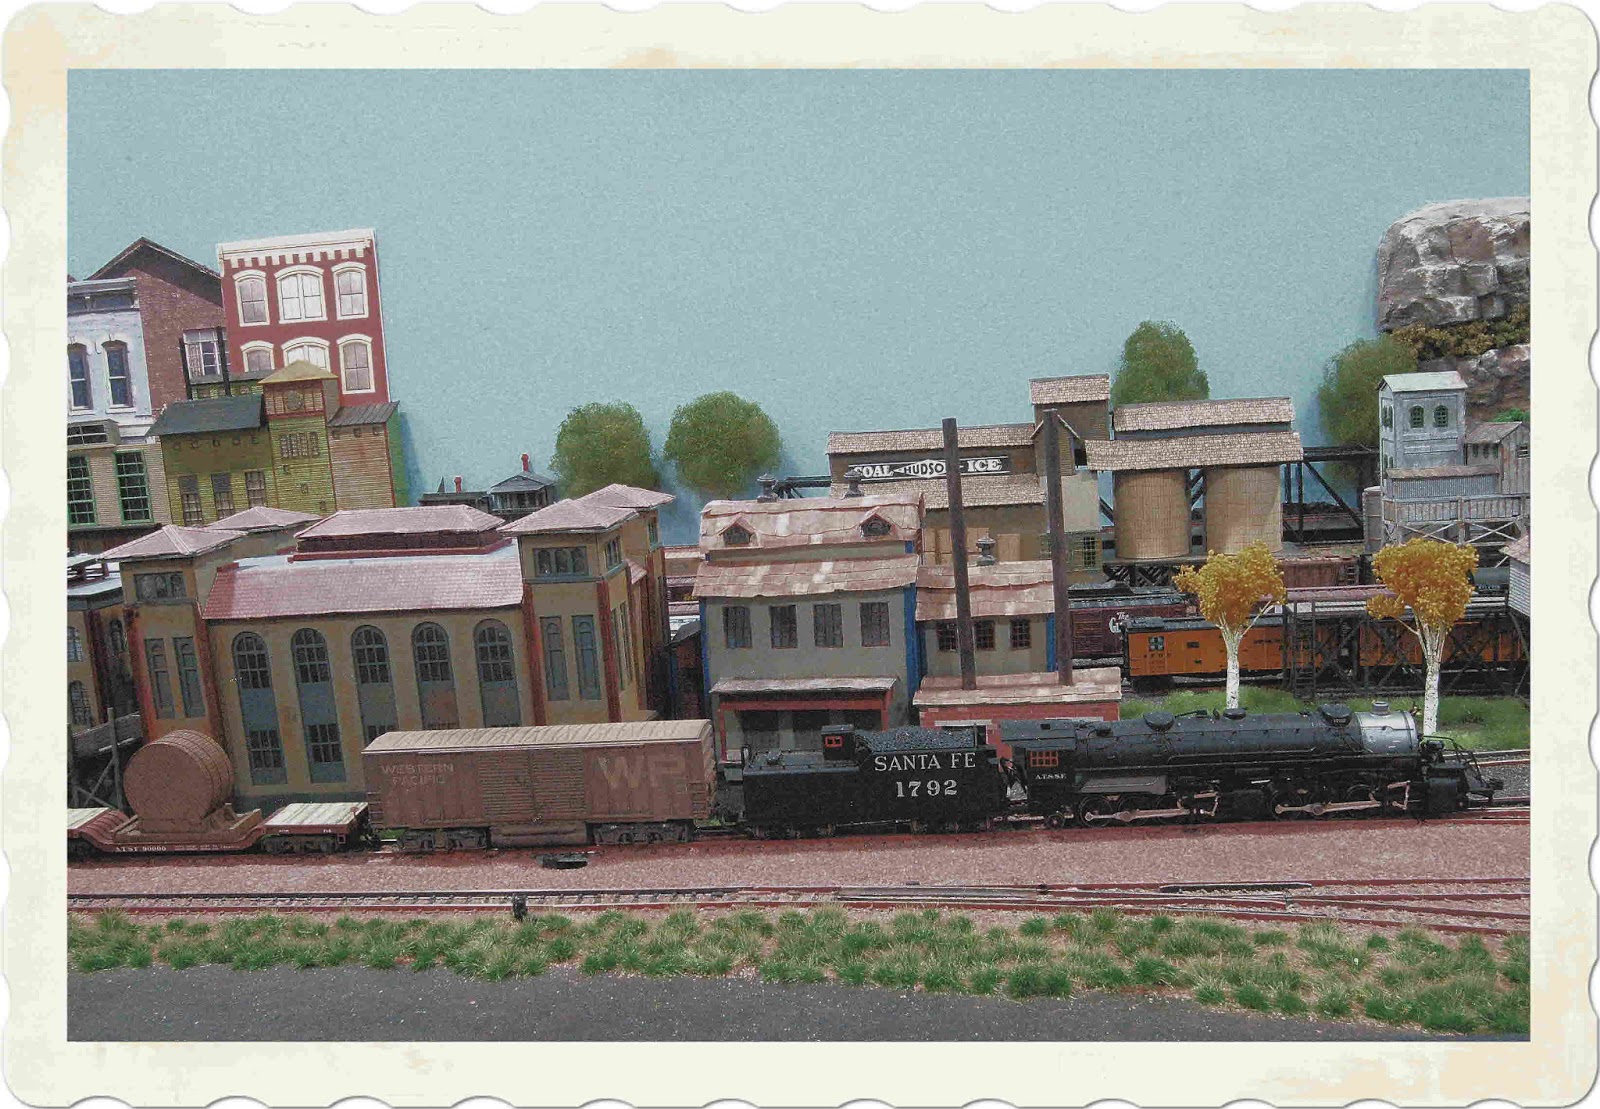
When I first designed the "new" JJJ&E, I wanted a layout with sweeping curves. I was able to do this using Unitrack. The radii of the two turnaround areas on the layout have 23-24 inch radii. Each turnaround area is 50x50 inches. This was accomplished using easements with individual Unitrack sections.
For the rest of the layout the radii average 30 inches. Again easements played a vital role in accomplishing this important dynamic of the layout. I can run very large steam locomotives which require larger radii to run well.
Photo # 1 ATSF FT units pulling a 40 car freight consist up the long 1 1/2% grade in the turnaround area east of San Marino. The San Marino freight yard and the town of San Marino is in the background.
Photo # 2
A panoramic view of the front part of the turnaround area. The building adjacent to Roscoe's Engine is a Plumbing Parts & Service area. The three mainline track tracks in the foreground sweep around the turnaround area using 23-24 inch radii.
Photo # 3 The sweeping radii in the turnaround area east of San Marino. 23-24 inch radii are easy with the help of easements. A closer view of the back of the Plumbing &Heating Supply Building in the turnaround area.
Photo # 4 A closer look at the sweeping radii in the turnaround area east of San Marino. A closer side view of Roscoe's Engine. Milwaukee Hiawatha #1 is making its way around the turnaround area on the lower level mainline track.
Photo # 5 These are two of the inner mainline tracks in the turnaround area east of San Marino. Large radii area a must on the "new" JJJ&E. This is a prerequisite for large steam locomotives to run flawlessly on the layout. A closer view of Milwaukee Hiawatha #1 with a direct view of Rosco's Engine Repair Shop. The Locomotive Maintenance Building is directly behind Rosco's Engine Repair.
Photo # 6 Two classic locomotives, the SP #4449 GS-4 "Freedom Train" 4-8-4 and the Milwaukee "Hiawatha" #1 pulling passenger car consists east of San Marino in the right turnaround area of the JJJ&E. The San Marino Freight yard is in the distance. The building in the immediate background is Roscoe's Engine Repair Shop. Both trains are running on the lower mainline tracks on this part of the JJJ&E.
Photo # 6A The American Freedom Train, SP #4449 at the Santa Fe style station in San Marino

Photo # 6A A B&W photo of The American Freedom Train, SP #4449 at the Santa Fe style station in San Marino
Photo # 6B An old sepia photo of The American Freedom Train, SP #4449 at the Santa Fe style station in San Marino
Photo # 6C An old platinum photo of The American Freedom Train, SP #4449 at the Santa Fe style station in San Marino
Photo # 6D An old color photo of The American Freedom Train, SP #4449 at the Santa Fe style station in San Marino
Photo # 6E An old albumen photo of The American Freedom Train, SP #4449 at the Santa Fe style station in San Marino
Photo # 6F The
American Freedom Train headed by The GS-4 #4449 is leaving the station
at San Marino. The town of San Marino is in the background.
Photo # 6G An old B&W photo of The
American Freedom Train headed by The GS-4 #4449 is leaving the station
at San Marino. The town of San Marino is in the background.
Photo # 6G An old sepia photo of The
American Freedom Train headed by The GS-4 #4449 is leaving the station
at San Marino. The town of San Marino is in the background.
Photo # 6H An old platinum photo of The
American Freedom Train headed by The GS-4 #4449 is leaving the station
at San Marino. The town of San Marino is in the background.
Photo # 6I An old color photo of The
American Freedom Train headed by The GS-4 #4449 is leaving the station
at San Marino. The town of San Marino is in the background.
Photo # 6J An old albumen photo of The
American Freedom Train headed by The GS-4 #4449 is leaving the station
at San Marino. The town of San Marino is in the background.
Photo # 6K The
American Freedom Train headed by The GS-4 #4449 is leaving the station
at San Marino with the Idaho Hotel in the background.
Photo # 6L An old B&W photo of The
American Freedom Train headed by The GS-4 #4449 is leaving the station
at San Marino with the Idaho Hotel in the background.
Photo # 6M An old sepia photo of The
American Freedom Train headed by The GS-4 #4449 is leaving the station
at San Marino with the Idaho Hotel in the background.
Photo # 6N An old platinum photo of The
American Freedom Train headed by The GS-4 #4449 is leaving the station
at San Marino with the Idaho Hotel in the background.
Photo # 6N An old B&W photo of The
American Freedom Train headed by The GS-4 #4449 is leaving the station
at San Marino with the Idaho Hotel in the background.
Photo # 6O An old albumen photo of The
American Freedom Train headed by The GS-4 #4449 is leaving the station
at San Marino with the Idaho Hotel in the background.
Photo # 6P The SP
GS-4 # 4449 "Freedom Train" leaving San Marino. An Ice Platform is in the
background. Ice Workers are getting ready to load ice into ATSF
reefers.
Photo # 6Q An old B&W photo of the SP
GS-4 # 4449 "Freedom Train" leaving San Marino. An Ice Platform is in the
background. Ice Workers are getting ready to load ice into ATSF
reefers.
Photo # 6R An old sepia photo of the SP
GS-4 # 4449 "Freedom Train" leaving San Marino. An Ice Platform is in the
background. Ice Workers are getting ready to load ice into ATSF
reefers.
Photo # 6S An old platinum photo of the SP
GS-4 # 4449 "Freedom Train" leaving San Marino. An Ice Platform is in the
background. Ice Workers are getting ready to load ice into ATSF
reefers.
Photo # 6T An old color photo of the SP
GS-4 # 4449 "Freedom Train" leaving San Marino. An Ice Platform is in the
background. Ice Workers are getting ready to load ice into ATSF
reefers.
Photo # 6U An old albumen photo of the SP
GS-4 # 4449 "Freedom Train" leaving San Marino. An Ice Platform is in the
background. Ice Workers are getting ready to load ice into ATSF
reefers.
 Photo # 7 A look down on the lower level of the mainline track from the upper level of the double track mainline. The Milwaukee "Hiawatha" can be seen on the lower level mainline track. The outer mainline has a long 1 1/2% grade which most steam locomotives on the roster of the "new" JJJ&E can negotiate. The two lower mainline tracks in the turnaround area are level and locomotives that can't negotiate the long grade can use these tracks to get back to San Marino.
Photo # 8 A closeup of ATSF FT Units negotiating the long 1 1/2% grade of the outer mainline track east of San Marino.
Photo # 9 A closeup view of a Key Imports PRR #6750 M1A making the long climb up the 1 1/2% grade east of San Marino in the Monterrey Mountains.
Photo # 9A
An old color photo of a brass
Key Imports PRR M1A #6750 is on the mainline east of San Marino entering
the right turnaround area of the JJJ&E. I installed a Lenz silver
mini decoder and a Soundtraxx Micro Tsunami decoder and mini oval
speaker in the tender.
Photo # 9B
A brass
Key Imports PRR M1A #6750 is on the mainline east of San Marino entering
the right turnaround area of the JJJ&E. I installed a Lenz silver
mini decoder and a Soundtraxx Micro Tsunami decoder and mini oval
speaker in the tender.
Photo # 9C An old sepia photo of a brass
Key Imports PRR M1A #6750 is on the mainline east of San Marino entering
the right turnaround area of the JJJ&E. I installed a Lenz silver
mini decoder and a Soundtraxx Micro Tsunami decoder and mini oval
speaker in the tender.
Photo # 10 A closeup view of the PRR M1A #6750 (4-8-2)on the engineers side of the locomotive. This is a very powerful steamer. The Belpaire firebox is distinctive of PRR steam locomotives.
Photo # 11 UP 4-8-4 #837 slowly climbing the 1 1/2% grade on the mainline east of San Marino.
Photo # 12 ATSF F-7's pulling a 40 car consist up the long grade east of San Marino. The town of San Marino is in the background.
 Photo # 13 A South Western Portland Cement Company two truck Shay #12 on the mainline in the Monterrey Mountains east of San Marino. There is a Lenz mini silver decoder in the cab. I installed MT Z scale #905 couplers on both ends of the Shay. The gears are fully operational on the engineers side of the locomotive.
 Photo #14 An early evening photo of a South Western Portland Cement Company # 12 two truck Shay, making the long climb up the mainline grade in the Monterrey Mountains east of San Marino.
Photo # 15 The South Western Portland Cement Company Two Truck Shay is slowly making its way up the long grade east of San Marino in the Monterrey Mountains.
Photo
# 15A An old color photo of the South Western Portland Cement Company #12 Two Truck Shay is slowly
making its way up the long grade east of San Marino in the Monterrey
Mountains.
Photo # 16 A closeup view of the South Western Portland Cement Company #12 Two Truck Shay on the long grade in the Monterrey Mountains east of San Marino. The gears on the engineers side of this locomotive are fascinating to watch in action. The maximum speed for this locomotive is 10 MPH.
Photo # 17 SP "Daylight" #4450 Making The Long Climb Up The Grade East Of San Marino. The Monterrey Mountains Are In The Background
Photo
# 17A An old B&W photo of a SP "Daylight" #4450 Making The Long Climb Up The Grade East Of
San Marino. The Monterrey Mountains Are In The Background
Photo
# 17B An old sepia photo of a SP "Daylight" #4450 Making The Long Climb Up The Grade East Of
San Marino. The Monterrey Mountains Are In The Background
Photo
# 17C An old color photo of a SP "Daylight" #4450 Making The Long Climb Up The Grade East Of
San Marino. The Monterrey Mountains Are In The Background
Thirty inch radii is the norm for the rest of the layout. This allows me to operate large steam locomotives and maximizes their optimum performance on the layout. I'm able to get inch radii with the use of easements which makes this possible.
Photo # 18 A sweeping panoramic view of the Diesel Service Yard. Two Oil derricks are above the retaining wall which is in the corner of the layout. 30 inch radii make very nice sweeping curves on this part of the "new" JJJ&E. Both signal bridges are fully operational and are controlled by photo cells in the track and Logic Rail Technologies signal boards.
Photo # 19 A closeup view of Bowdens Mills Lumber Yard. The sweeping curves on this part of the "new" JJJ&E utilize 30 inch radii. Two oil derricks are in operation above the retaining wall in this corner of the layout. A long Billboard reefer consist is on the outer mainline heading towards the Switching Yard.
Photo # 20 A closeup of the Cash Mining Company with a panoramic view of the two oil derricks above the retaining wall in the corner of the layout. Wide sweeping curves enable all the locomotives on the roster of the "new" JJJ&E to operate at peak performance.
Photo
# 21 A ATSF
4-8-4 #3782 climbing the 1 1/2% grade on the mainline east of San
Marino. The Monterrey Mountains are in the background. This locomotive
has a very rigid wheel base and should only be used on layouts with
radii greater than 19 inches.
Photo
# 21A An old B&W photo of a ATSF
4-8-4 #3782 climbing the 1 1/2% grade on the mainline east of San
Marino. The Monterrey Mountains are in the background. This locomotive
has a very rigid wheel base and should only be used on layouts with
radii greater than 19 inches.
Photo
# 21B An old sepia photo of a ATSF
4-8-4 #3782 climbing the 1 1/2% grade on the mainline east of San
Marino. The Monterrey Mountains are in the background. This locomotive
has a very rigid wheel base and should only be used on layouts with
radii greater than 19 inches.
Photo
# 21C An old color photo of a ATSF
4-8-4 #3782 climbing the 1 1/2% grade on the mainline east of San
Marino. The Monterrey Mountains are in the background. This locomotive
has a very rigid wheel base and should only be used on layouts with
radii greater than 19 inches.
Photo # 22 Denver
& Rio Grande F-7's and Milwaukee Hiawatha # 1 Locomotive and two car
passenger train enter the turnaround area east of San
Marino.
Photo # 23 A panoramic view of a SP "Black"GS-4 #4390 in the center of San Marino.
Photo # 23A An old B&W photo of a panoramic view of a SP "Black"GS-4 #4390 in the center of San Marino.
Photo # 23B An old sepia photo of a panoramic view of a SP "Black"GS-4 #4390 in the center of San Marino.
Photo # 23B An old color photo of a panoramic view of a SP "Black"GS-4 #4390 in the center of San Marino.
Photo # 23C An old platinum photo of a panoramic view of a SP "Black"GS-4 #4390 in the center of San Marino.
Photo # 23D An old albumin photo of a panoramic view of a SP "Black"GS-4 #4390 in the center of San Marino.
Photo #24 A closeup
of a ATSF 2-6-6-2 articulated Mallet # 1175 on the mainline east of San
Marino. The Monterrey Mountains are in the background.
Photo #25 Key Imports SP F-7 units on the mainline east of San Marino
Photo #25A An Old Classic photo of Key Imports SP F-7 units on the mainline east of San Marino
Photo #25B A color photo of Key Imports SP F-7 units on the mainline east of San Marino
Photo #26 An overhead color photo of a kitbashed Southern Kato Mikado using a GHQ pewter detail kit.
Photo #26A A color photo on the engineers of a kit bashed Southern Kato Mikado using a GHQ detail kit
Photo #26B An old platinum B&W photo of Southern MS-4 #4839 pulling a consist of freight cars on the inner mainline track in San Marino. The Idaho Hotel can be seen in the background.
Photo #27 A color photo of an ATSF articulated 2-8-8-2 pulling a long freight consist on the inner mainline track leaving the town of San Marino.
Photo #28 Roof tops In The Town Of San Marino. The Busy San Marino Switching Yard Can Be Seen In Operation
Photo #29 A color photo showing part of the Industrial Park in the
turnaround area east of San Marino. The locomotive maintenance center is
on the left. The Five Cent Cigar Company is adjacent to the maintenance
center and a Wood Processing Plant is on the right. I still haven't
painted the logs at the Wood Processing Plant. I used roofing felt for
the Industrial Center's asphalt pavement. BTW, when I bought the roofers
felt at Home Depot, there was no odor from the roofers felt. The radii
of the track in the turnaround area is 23-24 inches, which is 46-48
inches in HO scale.
Photo #30 Another view of the Industrial Park showing a SP 2-6-6-2
articulated steamer pulling a freight consist on the lower level of the
mainline track. The Locomotive Maintenance Building, The Five Cent Cigar
Company and The San Marino Wood Processing Center Build are also in
this photo.