The JJJ&E Logo

Saturday, July 19, 2014

Transforming A Generic Kato Mikado Into A CB&Q 0-4 Mikado Using a GHQ Detail Kit

              Transforming A Generic Kato Mikado Into A CB&Q 0-4 Mikado

This tutorial will transform a generic Kato Mikado into a CB&Q O-4 Mikado using GHQ pewter detail parts. I will be detailing one generic "unlettered" Kato Mikado  #5506. This is one of the easiest GHQ detail kits to work with. You must download the instructions online as there are no instructions in the kit. However, the downloaded instructions are excellent and the pewter detail parts are very identifiable. This locomotive was fun to detail and finish. This detail kit is still readily available at GHQ 's website listed below.

http://www.ghqmodels.com/

   Photo # 1  A view of the boiler showing the pewter detail castings of the CB&Q O-4 Mikado on the mainline east of San Marino in the Monterrey Mountains.    

      Photo # 2 A closeup view of the CB&Q O-4 Mikado on the engineers side of the locomotive showing all the detail parts. The CB&Q Mikado is slowly climbing the long 1 1/2% grade east of San Marino in the Monterrey Mountains.    

     Photo # 3 A full view of the CB&Q #5506 O-4 Mikado on the engineers side showing all the detail parts added. The San Marino side of the layout is in the background.    

    Photo # 4 A lateral view of the CB&Q #5506 O-4 Mikado on the engineers side making the slow climb up the long 1 1/2% grade of the mainline in the Monterrey Mountains east of San Marino.    

     Photo # 5  A lateral view of the CB&Q #5506 O-4 Mikado on the fireman's side of the locomotive making the slow climb down the long grade of the mainline in the Monterrey Mountains. This is an excellent photo of the complex Feed Water Heater and its associated piping.   
 

     Photo # 6 A full view of CB&Q #5506 on the fireman's side of the locomotive showing all the pewter detail parts and associated piping. The town of San Marino is in the background.    

    Photo # 7 A rear view of CB&Q #5506 O-4 Mikado showing all the pewter detail parts added to the fireman's side of the locomotive and tender.    
 
    Photo # 8 A closeup view of  the completely painted CB&Q #5506 on the engineers side in the center of San Marino.    

      Photo # 9 A closeup view of  the completely painted CB&Q #5506 on the fireman's side in the center of San Marino.         


Saturday, July 12, 2014

The Broken Tree Jurgens Junk Yard

                                  The Broken Tree Jurgens Junk Yard

The Broken Tree Jurgens Junk Yard was a fun kit to build. The corrugated metal roof gives this small building some character after the corrugated roof was weathered. I added a substantial triangular shaped junk yard behind this building. The Broken Tree Jurgens Junk Yard is located on a long siding west of San Marino near the Cash Mining Company. The Broken Tree metal casting was used on the Original JJJ&E.

I spent several hours weathering the corrugated metal roof and building the triangular junk yard.

  Photo # 1 A trackside view of the "Broken Tree" Jurgens Junkyard in the foreground with Repairman's Row directly behind the junkyard.    

     Photo # 2 An aerial view of the "Broken Tree" Jurgens Junk Yard on a siding west of San Marino.

  Photo # 3 A closeup track side view of the back part of the "Broken Tree" Jurgens Junk Yard. Looking east we see the Empire Gas Tank in San Marino.  
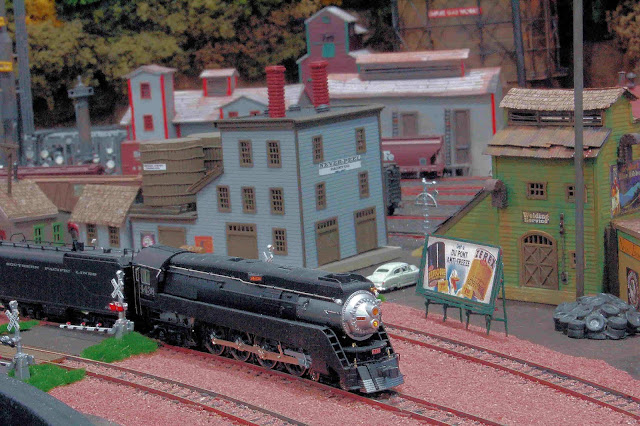
 Photo # 4 A Southern 4-6-0 with its consist of 33' coal hoppers is moving towards the mainline in San Marino. The "Broken Tree" Jurgens Junk Yard is to the right of the sidings.    
 
  Photo # 5  A color photo of a Southern 2-8-0 #722 "Consolidation" with the "Broken Tree"Jurgens Junk Yard in the foreground. This steamer was from the first run of Spectrum steam locomotives in 2002 and is still going strong. This 2-8-0 is on a siding west of San Marino near the San Marino Cash Coal Mine.     
 
 Photo # 6 A color photo of a Southern 2-8-0 #722 "Consolidation" on the move. This steamer was from the first run of Spectrum steam locomotives in 2002 and is still going strong. This 2-8-0 is on a siding west of San Marino near the San Marino Cash Coal Mine.     
 
     Photo # 7 A Closeup of the junk in the "Broken Tree Jurgens Junk Yard.    

    Photo # 8 A Closeup of the junk in the "Broken Tree Jurgens Junk Yard


Thursday, July 10, 2014

What Type Of Ballast To Use With Unitrack... That Is The Question?

What Type Of Ballast To Use With Unitrack... That Is The Question?

I have found over the years that a very fine natural rock ballast is best to use when ballasting Unitrack. On the JJJ&E, I used Color Canyon Materials very fine natural rock ballast. Arizona Rock & Mineral also makes very fine natural rock ballasts in many colors. I am using Arizona Rock & Mineral natural rock ballast exclusively on the "new" JJJ&E. They having many colors and grades available to N scalers as well as HO scale modelers

A very fine natural rock ballast is necessary because of the small space between the gray road bed and the ties. When you glue the ballast to the Unitrack, you'll find the natural rock ballast won't float away due to its heavier weight.

Woodland Scenics ballast is hard to work with when ballasting Unitrack due to it's light weight. The WS ballast tends to float away when you attempt to glue the ballast using a 50:50 Mix of water and water glue. This happens even after "wetting" the area to be ballasted with some iso-propyl alcohol beforehand.

When you attempt to ballast Unitrack, work in a small area. I usually work in 2-3 foot sections at a time for best results.

On the "new" JJJ&E, I used 57 bags of Arizona Rock & Mineral ATSF Windsor  "New" Hue ballast for the mainline track and 50 bags of Black Cinder yard ballast for the yards and sidings. 

Ballasting between the ties of the Unitrack isn’t difficult at all. It does take time and the end result is worth all the work involved.

I sprinkle small amounts of ballast on each section of the Unitrack. I usually work in three-foot sections. You must remember that the distance between the top of the ties and the roadbed is minute so very small amounts of ballast are necessary to fill in this space.. Arizona Rock & Mineral Ballast is small in size and this ballast works well for N scale layouts..

I then spread the ballast with a small ¼ inch flat brush. The ballast is spread so that it doesn’t cover the ties. The Arizona Rock & Mineral very fine N scale natural rock ballast makes this all happen due to the small size of each piece of natural rock ballast. When each three-foot section of track is ballasted, go over and fill in any areas that aren’t completely covered by the ballast. I use a mixture of 50% white craft glue and 50% water to the glue the ballast to the Unitrack roadbed using a small medicine dropper. You must be very careful not to flood the ballast with the glue/water mix. You must remember that the glue/water mixture will not seep through the solid plastic roadbed. If you happen to add to much glue/water mix to the ballast, the ballast might move slightly due to the fact that the glue can’t drain through the roadbed. Let the ballast dry for at least 24 hours. If some of the ballast is loose or misplaced after 24 hours you can apply more ballast and a second mixture of glue and water using the medicine dropper.  When the ballast is completely dry take a small instrument or a jewelers screwdriver and scrape off any ballast that has dried on the inner rails. If this step isn’t done, derailments will occur. So run some trains over each completed area that you ballast to make sure there are no pieces of ballast adhering to the inner side of the rails .

The link to Arizona Rock & Minerals website is below. Phil is a great person to do business with.

http://www.rrscenery.com/Home/Links/AZROCK5.html

Below are photo's of ballasted Unitrack on the "new" JJJ&E using Arizona natural rock ballast.

Photo # 1A closeup view of the completely ballasted Switching Yard. I started the ballasting of the double track mainline in late December 2010 and finished the entire double track mainline and all passing sidings the first week in March. Also completed was the ballasting of the Switching Yard which is 18 feet long and 30 inches wide.    
 Photo # 2  A closeup view of the ballasting of the double track mainline and two passing sidings near the backdrop and backdrop buildings and a view of the Switching Yard.    

Photo # 3 A closeup view of Bowdens Mills Lumber Yard. The sweeping curves on this part of the "new" JJJ&E utilize 30 inch radii. Two oil derricks are in operation above the retaining wall in this corner of the layout. A long Billboard reefer consist is on the outer mainline heading towards the Switching Yard.    

 Photo # 4 A panoramic view of the finished front part of the turnaround area. The building adjacent to Roscoe's Engine is a Plumbing Parts & Service area.The three mainline track tracks in the foreground sweep around the turnaround area.    

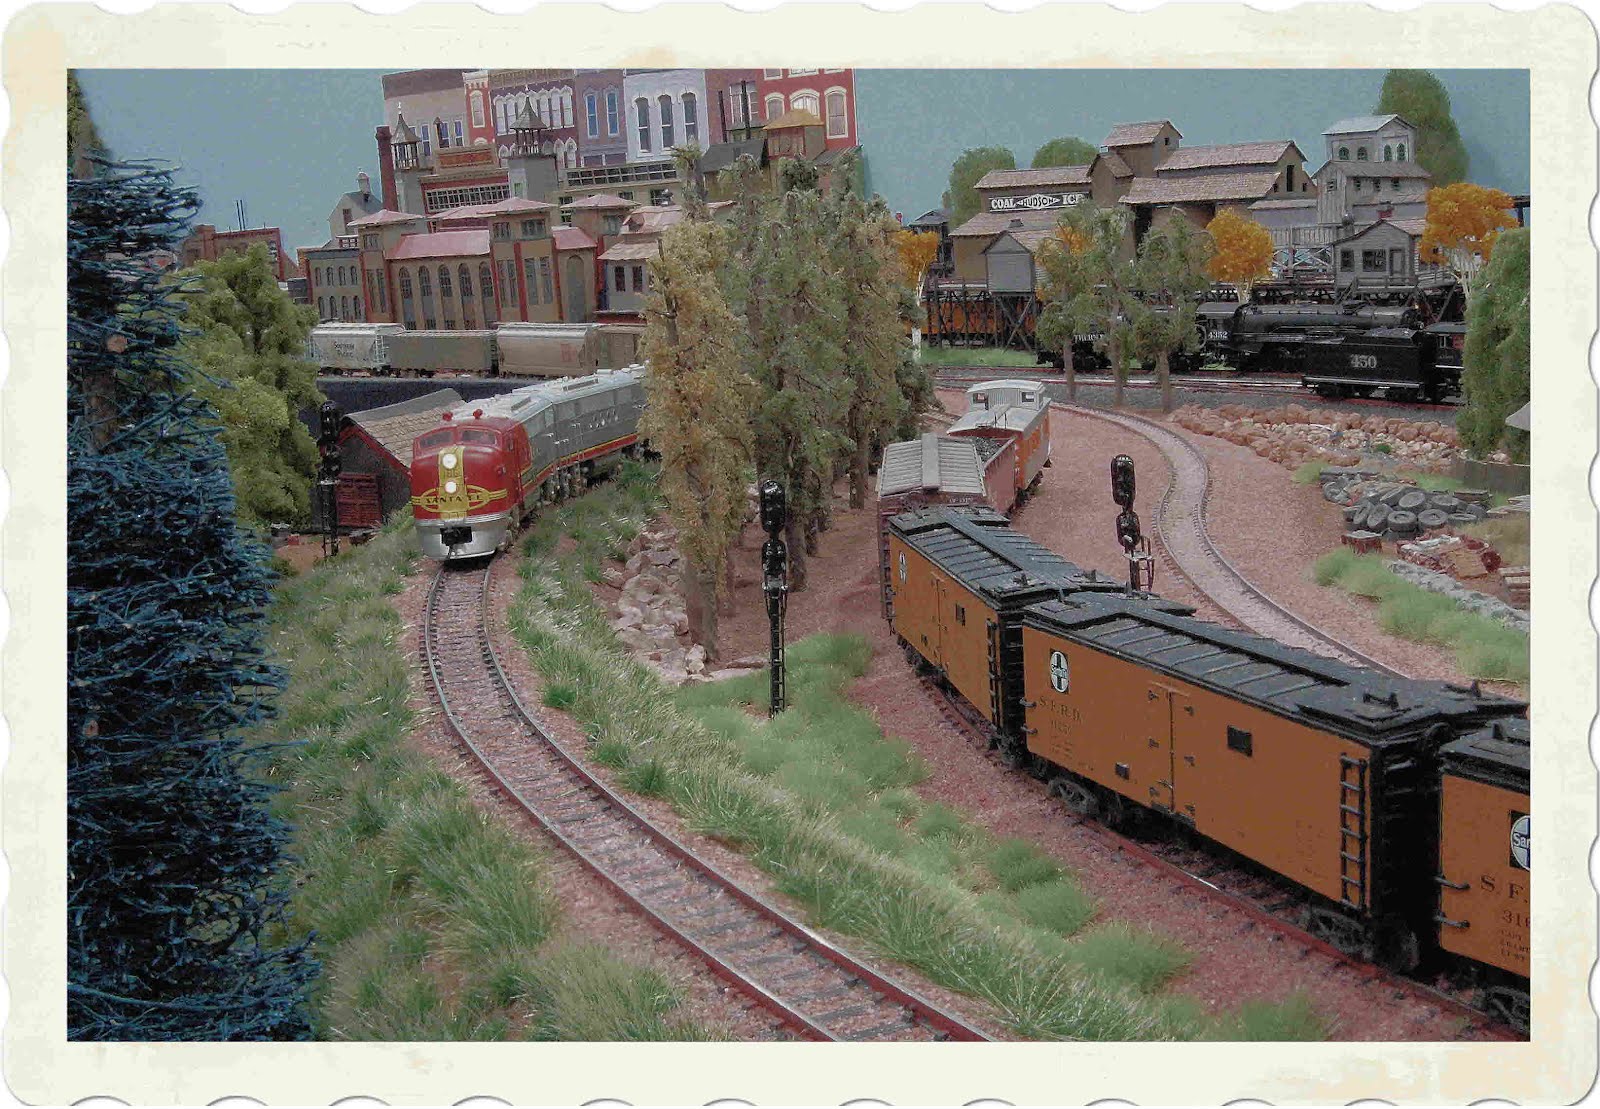
Photo # 5  Denver & Rio Grande F-7's and Milwaukee Hiawatha Locomotive and two car passenger train enter the newly finished turnaround area east of San Marino.    
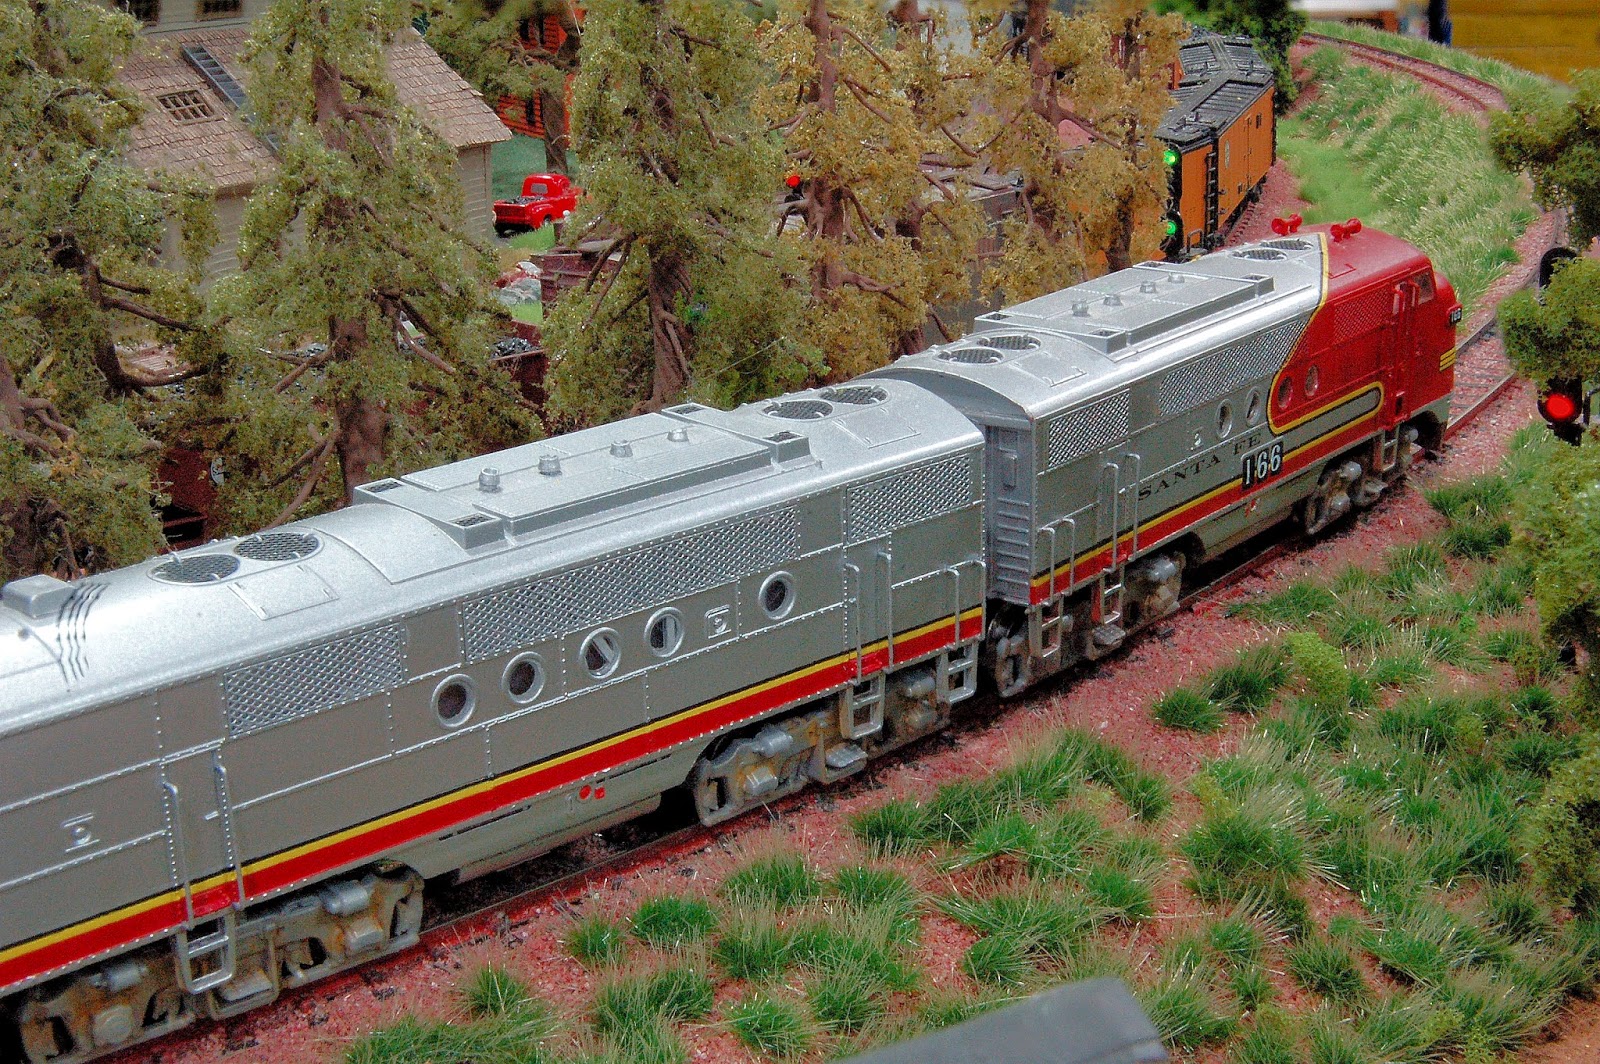
 Photo # 6 A panoramic view of four ATSF F-7's pulling a long consist on the mainline in San Marino    

Wednesday, July 9, 2014

Super-Elevating Curves Using Unitrack

Super-Elevating Curves Using Unitrack

It isn't all that difficult to super-elevate the curved radii of Unitrack. This is also commonly known as "banking". All major interchanges in the U.S.highway system super-elevate or bank the roadbed.

In N Scale using Unitrack you just shim the outer rail 2/32 of an inch using thin styrene strips. By raising the outer rail under the roadbed of the Unitrack 2/32 inch, this amount will give you the desired visual effect that you are looking for.

When you super-elevate the outer rail of the Unitrack, it greatly enhances the performance of steam locomotives as well by improving the tracking of the front pilot truck and the rear truck of the steam locomotive along with the visual effect of the locomotive traveling through the curved radii.

This is a very interesting concept and will add to the visual effect of watching your locomotive and rolling stock on your layout.

You can also use this concept with other brands of N scale track.

Below are photo's of various locomotives in the turnaround area east of San Marino. The grade on this elevated part of the layout is 1 1/2%. The length of the entire grade is over thirty feet. I super-elevated the outer rail of Unitrack using 2/32 inch shim under the outer rail of Unitrack for the entire length of the grade. This creates the desired effect as you watch locomotives and rolling stock negotiate the grade on this part of the "new" JJJ&E

This technique can be accomplished with any brand of track in any scale and creates a very interesting effect on a layout.